一,打开文件(可以随文下载放置在文档中打开)。(如下图1所示)
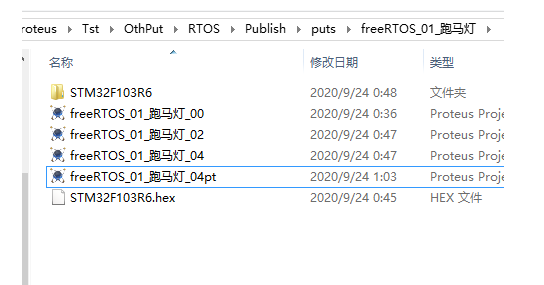
图1
二,调整原理图大小,适合可视,另存工程文件。(如下图2,3,4所示)
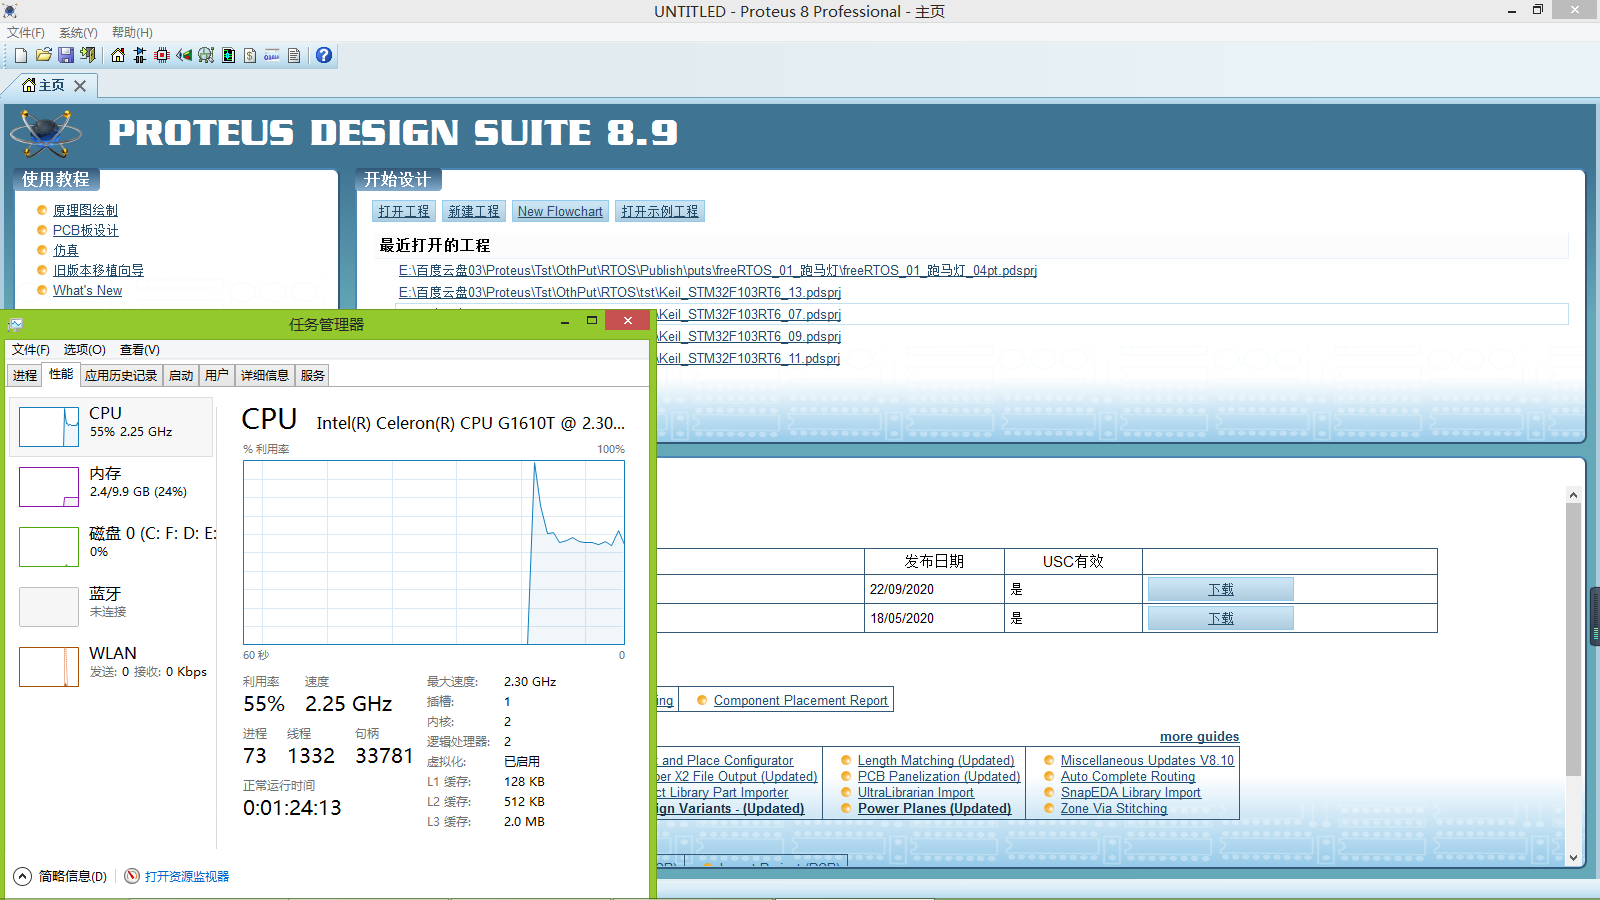
图2
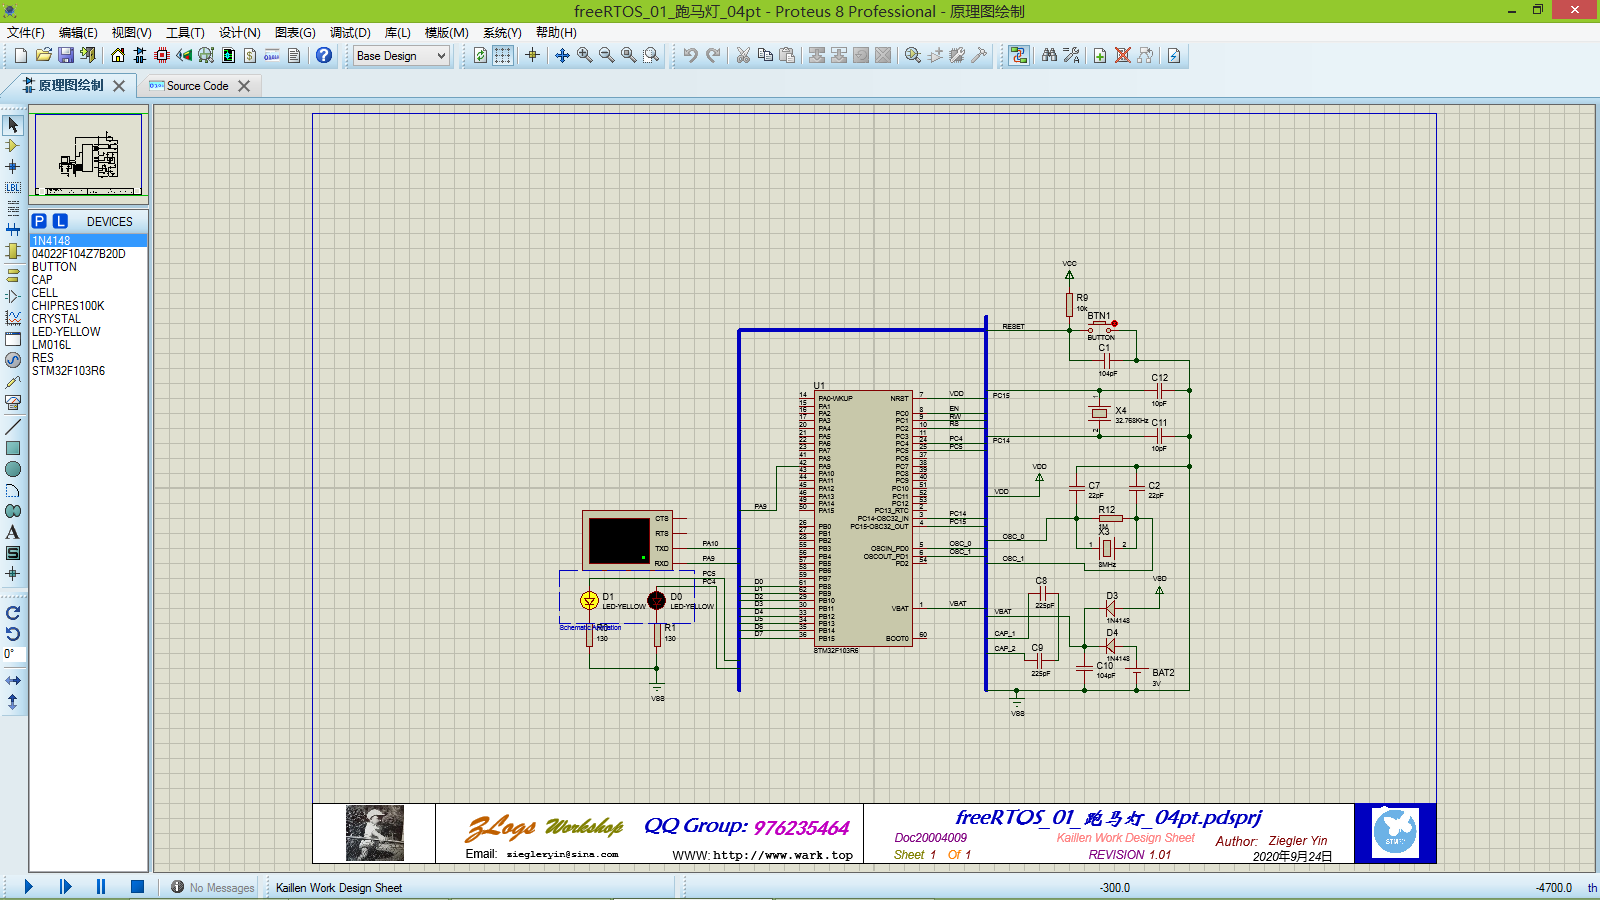
图3
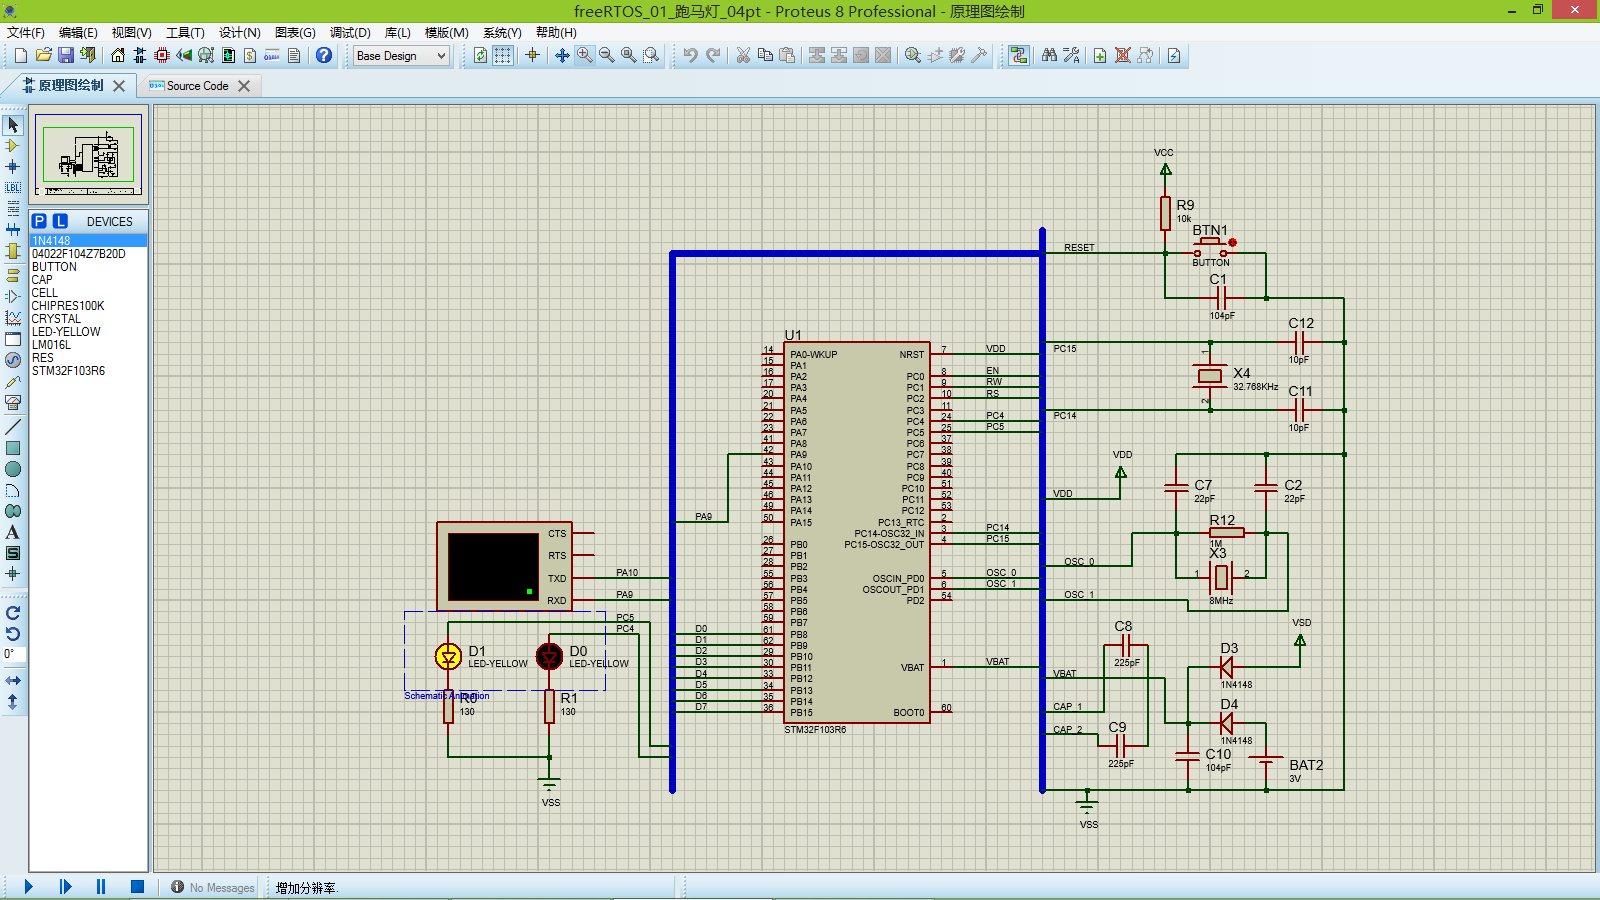
图4
三,点击Source Code标签。(如下图5所示)

图5
四,编辑main.c Proteus8.9 VSM Studio Keil编译器仿真freeRTOS_STM32F103R6_系列001_跑马灯 (如下图6所示)
五,Main.c 代码:
#include "sys.h"
#include "delay.h"
#include "usart.h"
#include "led.h"
#include "lcd1602.h"
#include "FreeRTOS.h"
#include "task.h"
//任务优先级
#define START_TASK_PRIO 1
//任务堆栈大小
#define START_STK_SIZE 128
//任务句柄
TaskHandle_t StartTask_Handler;
//任务函数
void start_task(void *pvParameters);
//任务优先级
#define LED0_TASK_PRIO 2
//任务堆栈大小
#define LED0_STK_SIZE 50
//任务句柄
TaskHandle_t LED0Task_Handler;
//任务函数
void led0_task(void *pvParameters);
//任务优先级
#define LED1_TASK_PRIO 3
//任务堆栈大小
#define LED1_STK_SIZE 50
//任务句柄
TaskHandle_t LED1Task_Handler;
//任务函数
void led1_task(void *pvParameters);
int main(void)
{
NVIC_Configuration();
delay_init();
USART1_Init(57600); //串口初始化(参数是波特率)
LED_Init(); //初始化LED端口 if(USART_RX_STA&0x8000)
xTaskCreate((TaskFunction_t )start_task, //任务函数
(const char* )"start_task", //任务名称
(uint16_t )START_STK_SIZE, //任务堆栈大小
(void* )NULL, //传递给任务函数的参数
(UBaseType_t )START_TASK_PRIO, //任务优先级
(TaskHandle_t* )&StartTask_Handler); //任务句柄
vTaskStartScheduler(); //开启任务调度
}
//开始任务任务函数
void start_task(void *pvParameters)
{
taskENTER_CRITICAL(); //进入临界区
//创建LED0任务
xTaskCreate((TaskFunction_t )led0_task,
(const char* )"led0_task",
(uint16_t )LED0_STK_SIZE,
(void* )NULL,
(UBaseType_t )LED0_TASK_PRIO,
(TaskHandle_t* )&LED0Task_Handler);
vTaskDelete(StartTask_Handler); //删除开始任务
taskEXIT_CRITICAL(); //退出临界区
}
//LED0任务函数
void led0_task(void *pvParameters)
{
while(1)
{
LED0=~LED0;
printf("LED0变换!\r\n");
delay_us(50000);
LED1=~LED1;
printf("LED1变换!\r\n");
delay_us(50000);
}
}
六,点击构建工程按钮,编译工程。(如下图6所示)
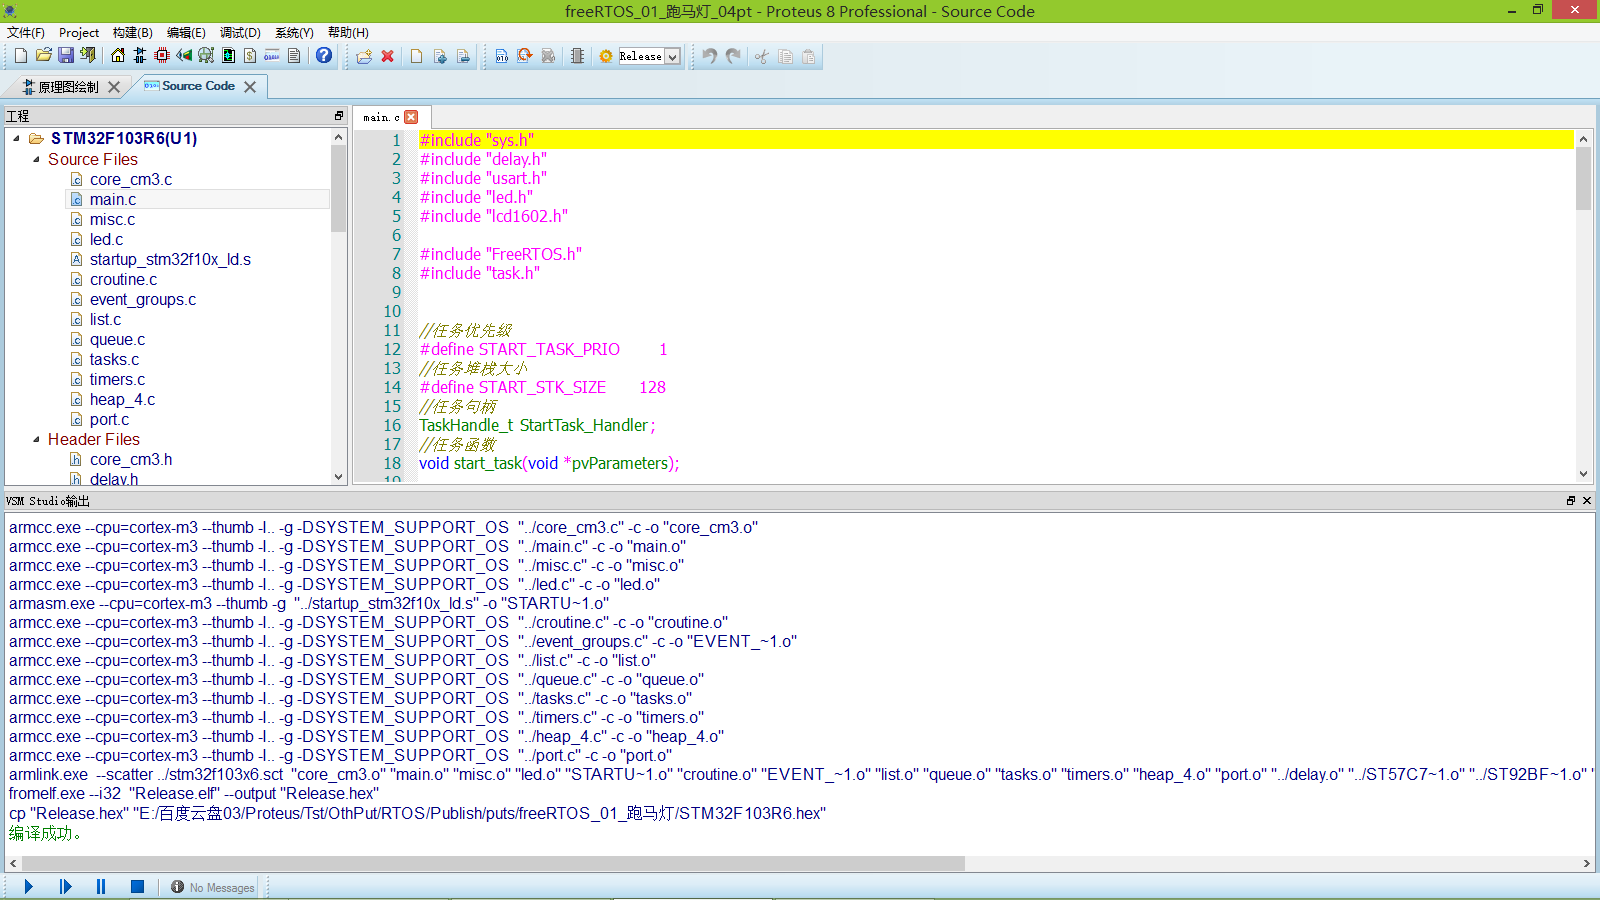
图6
七,点击窗口左下方仿真按钮,可见虚拟LED显示。 (如下图7,8,9所示)
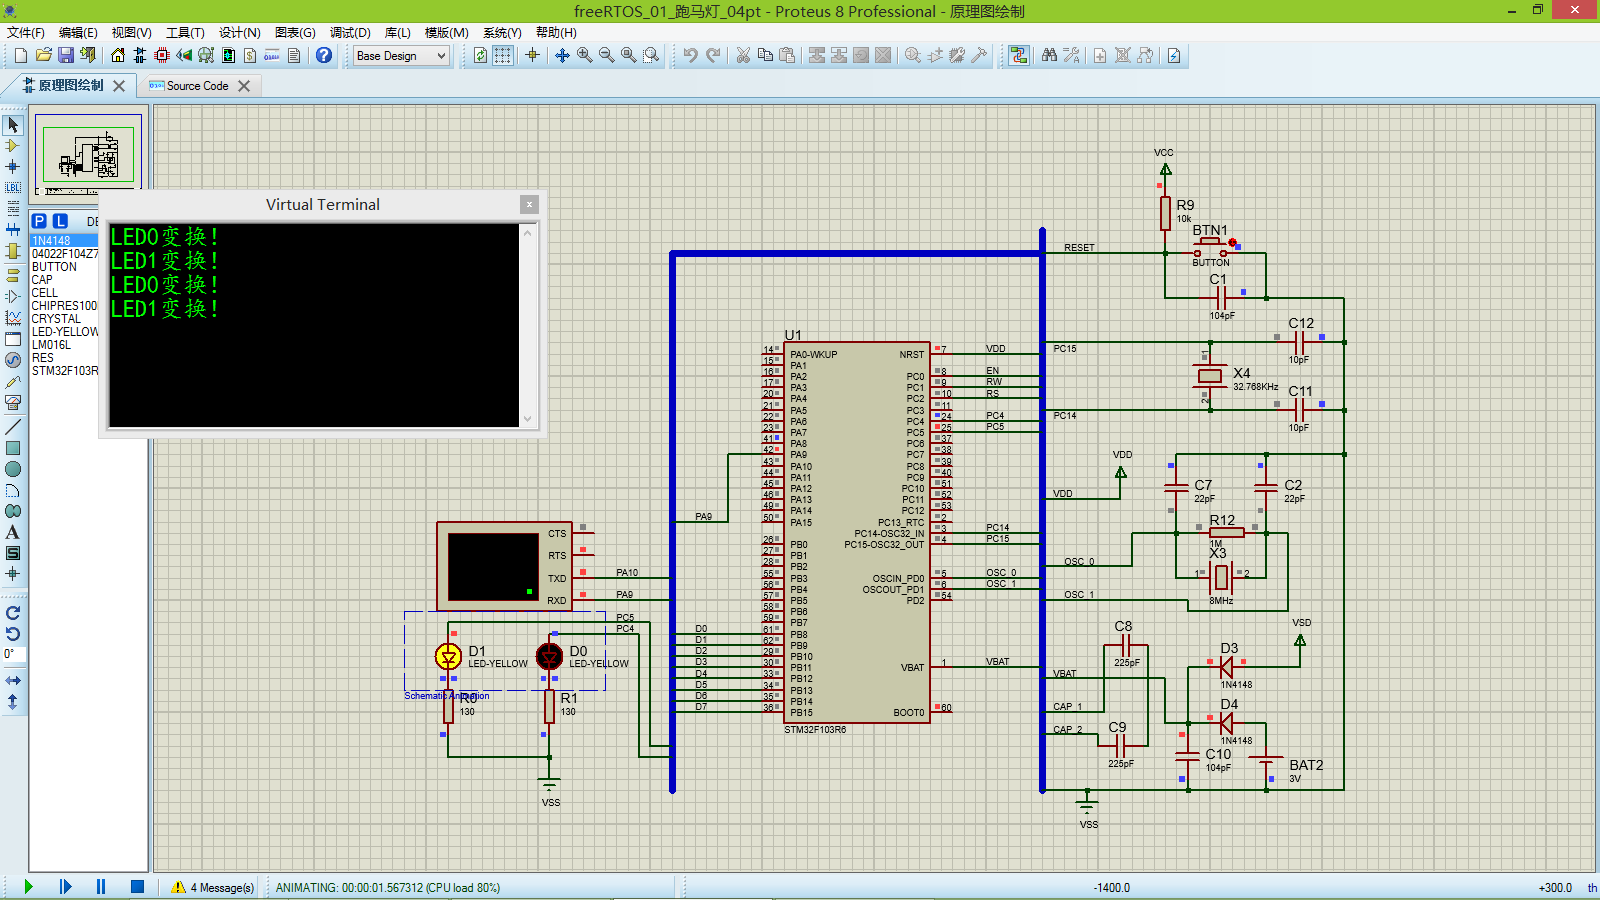
图7
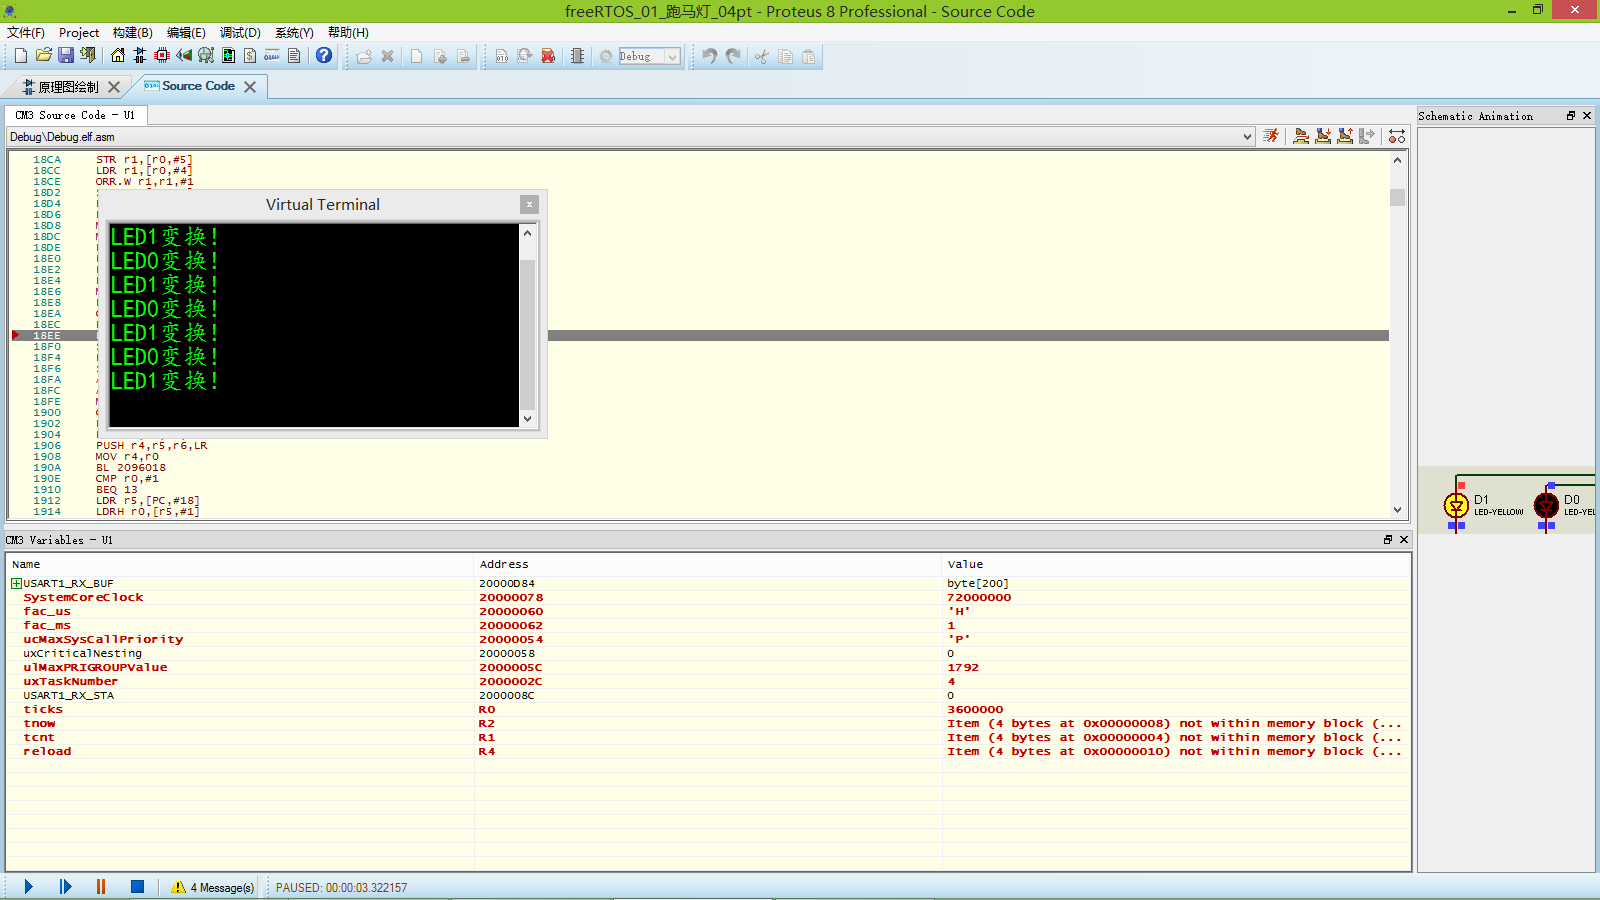
图8

图9
八,选择release,点击构建工程按钮,编译工程生成Hex文件。(如下图10所示)
图10
附件Proteus8.9 VSM Studio Keil编译器仿真freeRTOS_STM32F103R6_系列001_跑马灯在已安装Proteus8.9的计算机文件夹中打开即可